Your WordPress form is collecting data that immediately vanishes into a database you never check. Meanwhile, your team is manually exporting CSV files, reformatting columns, and copy-pasting entries into spreadsheets where the real work happens. This disconnect between data collection and data action costs hours every week and introduces errors at every step.
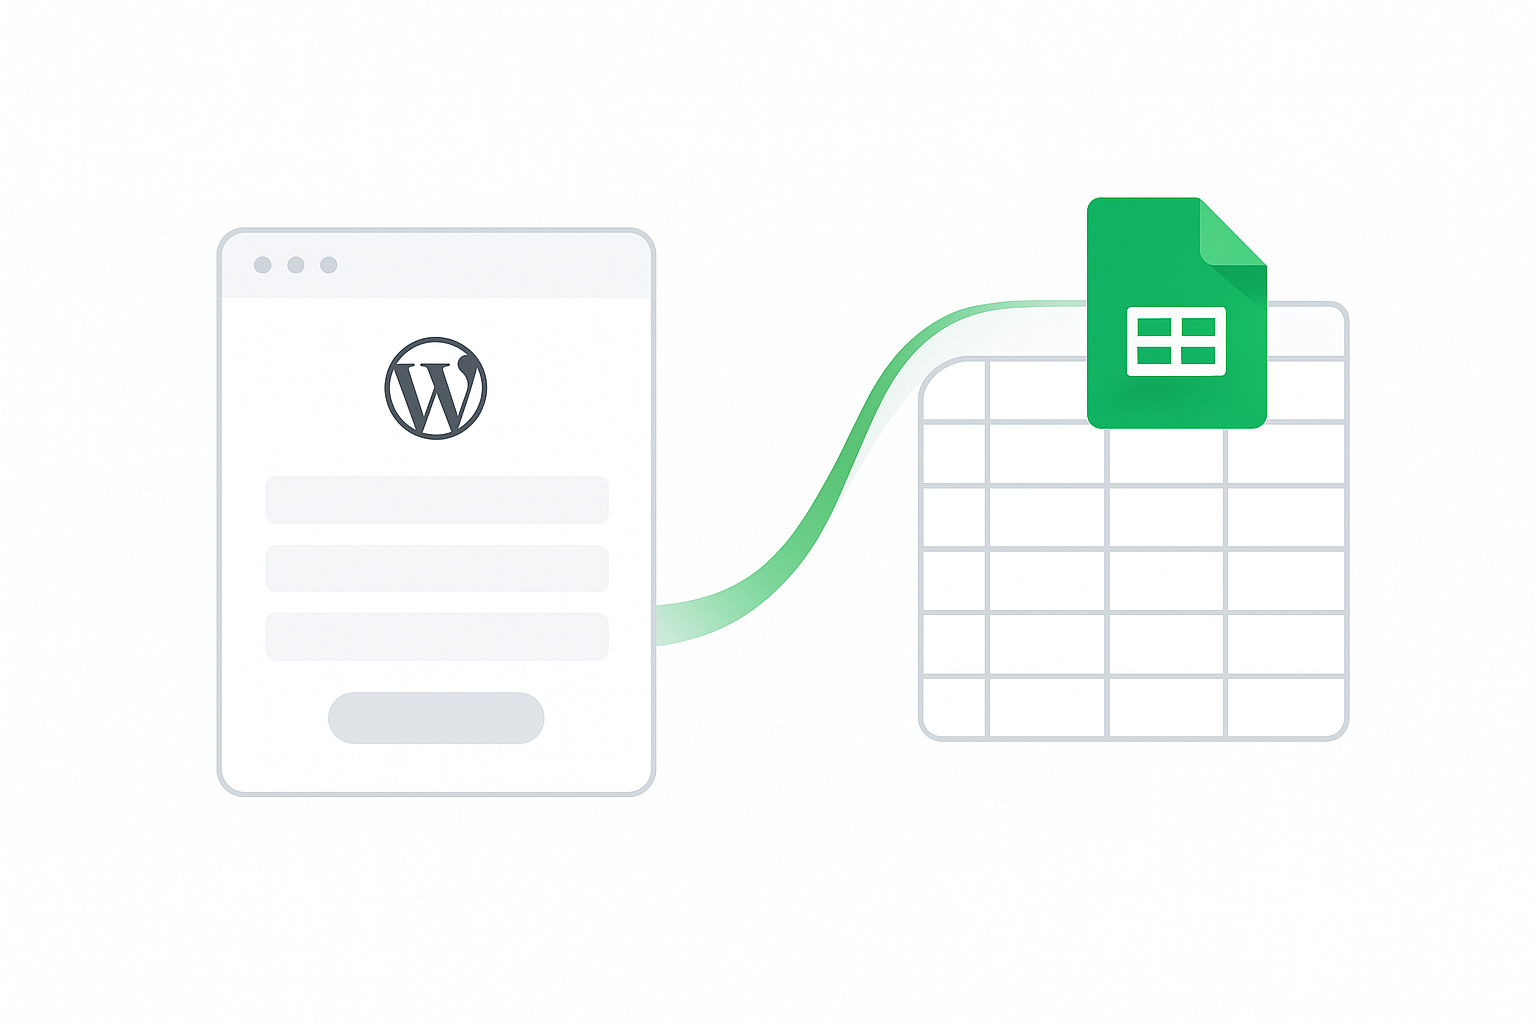
The solution is direct integration between your WordPress forms and Google Sheets. When a visitor submits a form, their data appears instantly in your spreadsheet, ready for analysis, collaboration, or automated workflows. No exports. No reformatting. No lost submissions.
This guide covers the complete integration process for the four most popular WordPress form plugins: Gravity Forms, WPForms, Contact Form 7, and Fluent Forms. You’ll learn which method works best for your setup and how to configure it in under 30 minutes.
Why Connect WordPress Forms to Google Sheets?
Before diving into setup, understanding the practical benefits helps you configure the integration correctly for your specific needs.
Real-time data access. Form submissions appear in Google Sheets within seconds. Your sales team can follow up on leads immediately rather than waiting for someone to check WordPress or run an export.
Team collaboration. Google Sheets allows multiple team members to work with form data simultaneously. Add notes, assign follow-ups, update statuses—all without touching WordPress admin.
Data backup and redundancy. If your WordPress site experiences downtime or database issues, your form data remains safely stored in Google’s infrastructure.
Spreadsheet-based automation. Google Sheets integrates with thousands of tools through native features and services like Zapier. Once data reaches your sheet, it can trigger email sequences, CRM updates, inventory adjustments, and more. For broader automation strategies, see our WordPress Workflow Automation guide.
Familiar interface for non-technical users. Your marketing team, sales staff, or virtual assistants likely already know Google Sheets. They can work with form data without WordPress admin access.
Method 1: Gravity Forms to Google Sheets
Gravity Forms offers one of the most polished Google Sheets integrations through its official addon. This method requires a Gravity Forms Elite license. Looking to extend Gravity Forms further? Check out our guide to 10 time-saving Gravity Forms add-ons.
Step 1: Install the Google Sheets Addon
Navigate to Forms > Add-Ons in your WordPress dashboard. Find “Google Sheets” in the list and click Install. After installation, click Activate.
Step 2: Connect Your Google Account
Go to Forms > Settings > Google Sheets. Click the Connect to Google button. You’ll be redirected to Google’s authentication page where you’ll select your Google account and grant permissions for Google Drive and Google Sheets access.
After authorization, you’ll return to WordPress with a “Connected” status displayed.
Step 3: Create a Google Sheets Feed
Open any form in the Gravity Forms editor. Navigate to Settings > Google Sheets. Click Add New to create a new feed.
Configure the following:
- Feed Name: A descriptive name like “Lead Capture to Sales Sheet”
- Google Spreadsheet: Select an existing spreadsheet or create a new one
- Worksheet: Choose which worksheet tab receives the data
Step 4: Map Your Fields
The field mapping interface shows your Google Sheet columns on the left and Gravity Forms fields on the right. Match each form field to its corresponding spreadsheet column.
For complex fields like addresses, Gravity Forms allows you to map individual components (street, city, state, zip) to separate columns.
Step 5: Configure Conditional Logic (Optional)
Click Enable Condition to set rules for when data should sync. For example, only sync submissions where the “Interest Level” field equals “High Priority” or where payment status shows “Completed.” If your conditional logic isn’t working as expected, our conditional logic troubleshooting guide walks through common fixes.
This prevents your sheet from filling with incomplete or irrelevant submissions.
Step 6: Test the Integration
Submit a test entry through your form. Within 10-15 seconds, the data should appear in your Google Sheet. If nothing appears, check that your feed is active and that any conditional logic conditions are met.
Method 2: WPForms to Google Sheets
WPForms includes native Google Sheets integration for Pro license holders and above. The setup process is straightforward but recently changed with their 2.0 update.
Step 1: Install and Activate the Addon
Go to WPForms > Addons in your dashboard. Search for “Google Sheets” and click Install Addon, then Activate.
Step 2: Connect Your Google Account
Navigate to WPForms > Settings > Integrations. Find Google Sheets in the list and click Add New Account. Click Continue with Google and complete the authorization process.
Important: WPForms’ 2.0 update (released in 2025) changed the authentication process. If you previously connected Google Sheets, you’ll need to reauthorize your connection under the new system.
Step 3: Configure the Form Connection
Edit any form and go to Settings > Google Sheets. Click Add New Connection.
Select or create your target spreadsheet. WPForms now uses a media library-style interface for spreadsheet selection rather than dropdown menus.
Step 4: Set Up Field Mapping
For each row in the mapping table:
- Enter the Column Name that should appear in your sheet header
- Select the corresponding Form Field Value from the dropdown
You can also enter custom values or Google Sheets formulas directly into the value field for calculated columns.
Step 5: Enable Conditional Logic
Toggle on Enable Conditional Logic to control which submissions sync. Build conditions using any form field to filter out unwanted entries.
Method 3: Contact Form 7 to Google Sheets
Contact Form 7 doesn’t include native Google Sheets integration, but the free GSheetConnector for CF7 plugin (40,000+ active installations) fills this gap effectively. If you’re experiencing email delivery issues with Contact Form 7, see our complete fix guide for contact form emails.
Step 1: Install GSheetConnector
Go to Plugins > Add New and search for “CF7 Google Sheets Connector.” Install and activate the plugin.
Step 2: Authenticate with Google
Navigate to Contact Form 7 > Google Sheets. Click the Sign in with Google button (or “Get Code” in older versions).
Complete Google’s authentication process and paste the authorization code back into the plugin settings.
Step 3: Prepare Your Google Sheet
Create a new Google Sheet or open an existing one. In the first row, add column headers that match what you want to capture. Common headers include:
- Name
- Phone
- Message
- Date
Step 4: Get Your Sheet ID and Tab ID
From your Google Sheet URL, you need two pieces of information:
The Sheet ID appears between /d/ and /edit in the URL. For example, in https://docs.google.com/spreadsheets/d/1ABC123xyz/edit, the Sheet ID is 1ABC123xyz.
The Tab ID appears after #gid= at the end of the URL. The first tab is usually 0.
Step 5: Configure the Form
Edit your Contact Form 7 form. Click the Google Sheets tab that GSheetConnector added to the form editor.
Enter:
- Sheet Name: Your spreadsheet’s name
- Sheet ID: The ID from your URL
- Tab Name: The worksheet tab name (usually “Sheet1”)
- Tab ID: The gid value from your URL
Step 6: Map Mail Tags to Columns
Contact Form 7 uses “mail tags” to represent form fields. These look like [your-name], [your-email], and [your-message].
For each column in your Google Sheet, enter the corresponding mail tag. The column header and mail tag must match exactly (including case) for data to sync correctly.
Method 4: Fluent Forms to Google Sheets
Fluent Forms includes native Google Sheets integration in its Pro version, known for its lightweight performance and fast load times.
Step 1: Enable the Integration Module
Go to Fluent Forms > Integrations. Find “Google Sheets” and toggle it on.
Step 2: Connect Google Account
Click Configure Google Sheets. Follow the OAuth flow to connect your Google account and grant necessary permissions.
Step 3: Add Integration to Your Form
Edit your form and navigate to Settings > Marketing & CRM Integrations. Click Add New Integration and select Google Sheets.
Step 4: Configure the Connection
Select your target spreadsheet and worksheet. Fluent Forms will automatically detect your sheet’s column structure.
Map each form field to its corresponding column. Fluent Forms’ interface clearly shows available form fields and lets you assign them with simple dropdowns.
Step 5: Set Conditional Logic
Use the conditional logic settings to control when submissions sync. This works similarly to other form plugins—build rules based on field values to filter which entries reach your sheet.
Alternative: Zapier for Any Form Plugin
If your form plugin lacks native Google Sheets support, or you need multi-step automation beyond simple data sync, Zapier provides a universal solution.
How Zapier Works
Zapier connects thousands of apps through “Zaps”—automated workflows with triggers and actions. A WordPress form submission serves as the trigger, and adding a row to Google Sheets serves as the action.
Basic Setup Process
- Create a Zapier account if you don’t have one
- Install the Zapier integration for your form plugin (WPForms, Formidable Forms, etc.)
- In Zapier, create a new Zap with your form plugin as the trigger
- Select “New Form Submission” or similar as the trigger event
- Add Google Sheets as the action and select “Create Spreadsheet Row”
- Map form fields to spreadsheet columns
- Turn on your Zap
Zapier Pricing Consideration
Zapier’s free tier includes 100 tasks per month. Each form submission that syncs to Google Sheets counts as one task. High-volume forms may require a paid plan ($19.99/month for 750 tasks).
For sites with many form submissions, native integrations or dedicated connector plugins offer better value than Zapier’s per-task pricing.
Troubleshooting Common Issues
Data Not Appearing in Google Sheets
Check authentication status. Most plugins show a “Connected” indicator. If it shows “Disconnected,” re-authenticate your Google account.
Verify sheet permissions. Your Google account must have Editor access to the target spreadsheet. Viewer or Commenter access won’t work.
Review conditional logic. If you’ve set conditions on your integration, ensure test submissions meet those conditions.
Check for API quota limits. Google limits API requests to 300 writes per minute. High-traffic sites may hit this limit. The solution is switching to manual authentication with your own Google Cloud project (detailed below).
Data Appearing in Wrong Columns
Match field names exactly. Column headers and field mappings are often case-sensitive. “Email” and “email” may be treated as different fields.
Don’t modify sheet structure after configuration. Adding, removing, or renaming columns may require reconfiguring your field mappings.
API Quota Exceeded Errors
Default plugin authentication shares API quota across all users of that plugin. For reliable synchronization on production sites:
- Create a Google Cloud project at console.cloud.google.com
- Enable the Google Sheets API and Google Drive API
- Create OAuth 2.0 credentials
- Enter your Client ID and Client Secret in the plugin’s “Manual Authentication” settings
This gives your site dedicated API quota rather than sharing with thousands of other websites.
Which Integration Method Should You Choose?
Use native addons (Gravity Forms, WPForms, Fluent Forms) if you already use these form plugins with appropriate license levels. The integration is seamless and supported by the same company.
Use GSheetConnector for Contact Form 7 or if you want a dedicated, affordable solution across multiple form plugins.
Use Zapier when you need multi-step automation beyond simple data sync, or when your form plugin has no other Google Sheets option. Be mindful of per-task costs at scale.
Use Uncanny Automator if you prefer keeping automation logic inside WordPress and want unlimited automations without per-task fees.
Next Steps After Integration
Once data flows automatically to Google Sheets, consider these enhancements:
Set up notifications. Use Google Sheets’ built-in notification rules to email team members when new rows appear.
Create filtered views. Build filter views for different team members—sales sees leads, support sees help requests.
Connect to other tools. Use Google Sheets as a hub to feed data into your CRM, email marketing platform, or project management system. For email marketing integration options, see our WordPress email marketing plugins comparison.
Add calculated columns. Use formulas to score leads, calculate totals, or flag priority items automatically.
Track form performance. Understanding which forms convert best helps you optimize over time. Our WordPress form analytics guide covers strategies for tracking and improving form conversions.
The combination of WordPress forms for data collection and Google Sheets for data management creates a flexible, collaborative system that grows with your business. Start with a single form today, verify the data flows correctly, then expand to additional forms as needed.
